What is Squarespace?
Squarespace is an instinctive framework that simplifies the process of crafting uncomplicated websites and digital marketplaces. Its capabilities are constrained. So, you might be seeking a versatile alternative, such as WordPress.
Introduction:
In today’s digital era, a dynamic and feature-rich website is a cornerstone of success for businesses and individuals. Squarespace and WordPress are two popular platforms that have empowered unlimited users to create stunning websites. However, if you find yourself outgrowing Squarespace’s capabilities and seeking greater customization, scalability, and control, migrating to WordPress might be the next logical step. In this guide, we will explain you through the process of migrating from Squarespace to WordPress, promising a smooth transition while preserving your content, design, and SEO efforts.
Step 1: Pre-Migration Preparation
Backup Squarespace Content:
Before embarking on the migration process, ensure you have a comprehensive backup of your Squarespace website. This includes all pages, images, blog posts, products (if applicable), and any other essential elements.
Import Images From Squarespace :
A website nowadays typically includes images unless you’re stuck in the past. If you want to transfer your Squarespace images to WordPress, you can accomplish this by first downloading the images and then uploading each individual file to your new site. Afterward, you can insert them into your content individually. Nevertheless, undertaking such a laborious process is hardly practical, especially if you’re dealing with more than just a few pages.
Choose a WordPress Hosting Provider:
Select a reliable WordPress hosting provider that meets your website’s requirements. Opt for a provider that offers easy WordPress installation, good performance, security features, and excellent customer support.
Step 2: Setting Up WordPress
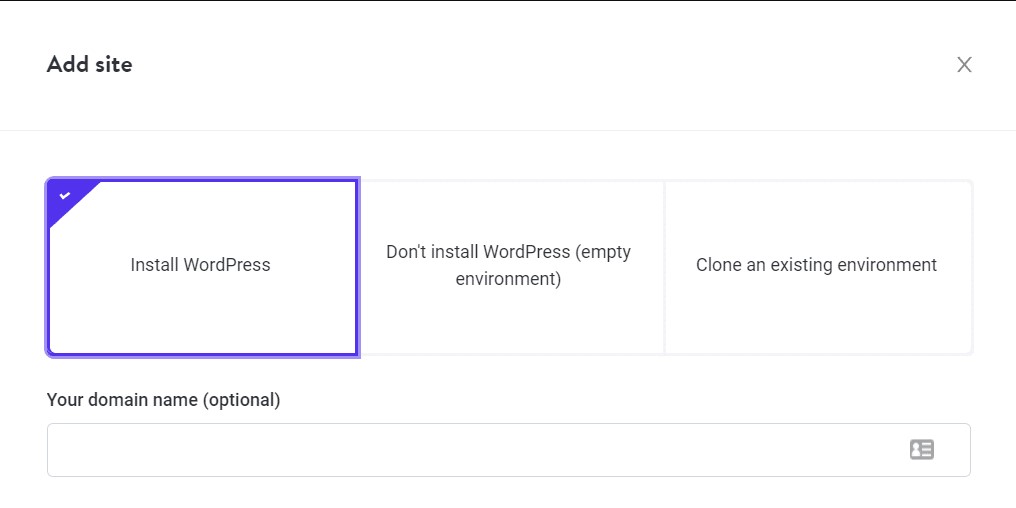
Install WordPress:
Most hosting providers offer a one-click WordPress installation process. Follow the prompts to set up your new WordPress site.
Choose a WordPress Theme:
Browse through the vast collection of WordPress themes and choose one that closely resembles your Squarespace design. Customization options are plenty, allowing you to maintain your website’s look and feel.

Step 3: Content Migration
Manual Content Migration:
Start migrating your content from Squarespace to WordPress. This involves copying and pasting text, re-uploading images, and recreating your pages and blog posts. This can be time-consuming, but it gives you the opportunity to review and optimize your content.
Automated Migration Tools:
Consider using migration plugins or services designed to simplify the content migration process. Plugins like “Squarespace to WordPress” can assist in importing your Squarespace content to your new WordPress site.
Step 4: Design and Customization
Recreate the Design:
Utilize your chosen WordPress theme to recreate the design elements from your Squarespace site. This may involve adjusting layouts, fonts, colors, and other visual components.
Widgets and Plugins:
Install and configure plugins that provide similar functionality to the widgets you used on Squarespace. WordPress’s extensive plugin library allows you to add various features without the need for custom coding.
Step 5: SEO and Permalink Structure
Maintain SEO Integrity:
Ensure that your new WordPress site retains its SEO value. Redirect old Squarespace URLs to the corresponding WordPress URLs using 301 redirects. This helps preserve your search engine rankings.
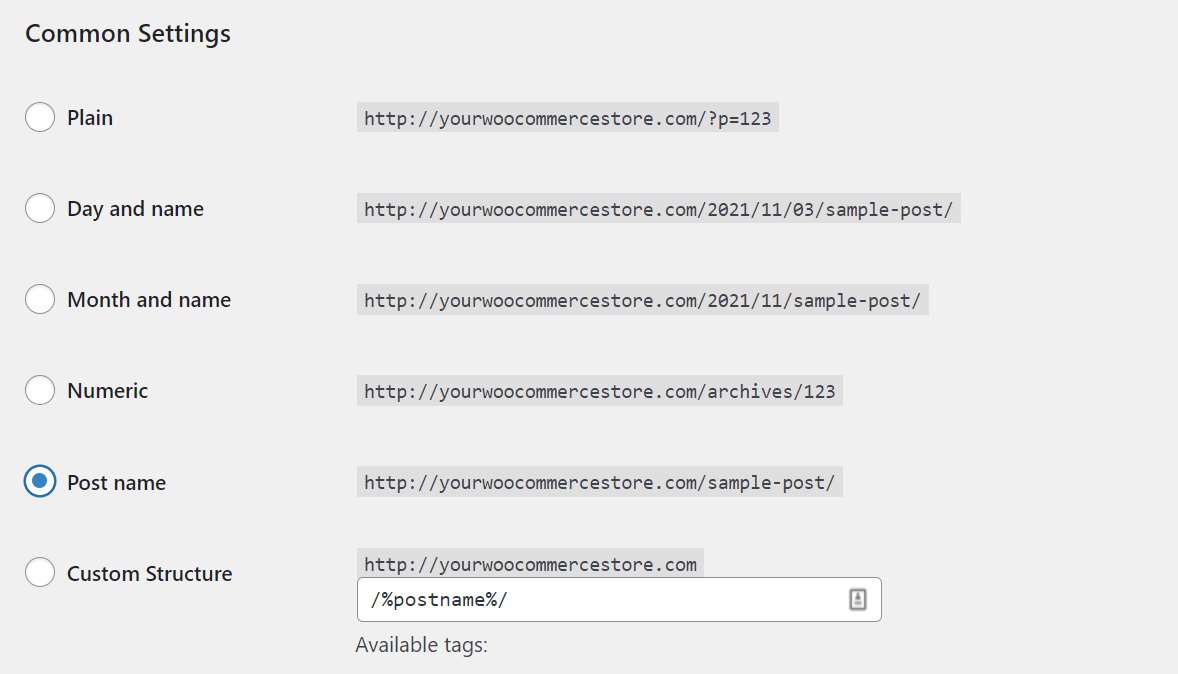
Set Up Permalinks:
Configure your WordPress permalinks to match your Squarespace URL structure. This step prevents broken links and maintains a consistent user experience.
Step 6: Quality Assurance
Content Review:
Thoroughly review your content on the new WordPress site to ensure all text, images, and formatting are correct. Make any necessary adjustments.
Testing and Bug Fixing:
Test your website’s functionality across different browsers and devices. Address any issues or bugs that may arise during this testing phase.
Step 7: Launch and Post-Migration Steps
Update Domain Settings:
Once you’re satisfied with your new WordPress site, update your domain settings to point to your WordPress hosting. This step completes the migration process.
Monitor and Optimize:
Continuously monitor your new WordPress site’s performance, security, and SEO. Utilize analytics tools to track traffic and user behavior, making necessary optimizations.
Conclusion:
Migrating from Squarespace to WordPress may seem like a daunting task, but with careful planning and execution, it can be a smooth and rewarding transition. By following the steps outlined in this guide, you’ll be well on your way to harnessing the full power and flexibility that WordPress has to offer. Remember that while the process might take time, the end result – a fully customized and scalable website – is well worth the effort.